How to Grow Wheatgrass
Growing wheatgrass at home eliminates the need for expensive store-bought alternatives and offers a fresher…
This post may contain affiliate links. Please see the privacy policy for details.
Growing wheatgrass at home eliminates the need for expensive store-bought alternatives and offers a fresher and more economical way to include it in your diet. You will learn how simple it is to sprout these seeds in trays, care for your plants, and eventually enjoy the satisfying process of juicing your own harvest.
Benefits of Growing Your Own Wheatgrass
Growing wheatgrass at home offers several benefits. Freshness is a top advantage, as you can harvest and consume the grass when it’s at its nutritional peak.
The investment in cost-effectiveness speaks for itself. Instead of buying expensive shots or powders, you can grow your own continuous supply at a fraction of the cost.
Additionally, there’s a sense of satisfaction that comes from nurturing something from seed to harvest.
Selecting the Right Wheatgrass Seeds
Choosing the right wheatgrass seeds is like setting a strong foundation for your home gardening endeavor.
- Look for organic wheatgrass seeds, free from synthetic fertilizers and pesticides.
- Check the germination rate on the package. It tells you how many seeds are likely to sprout. A higher percentage means more plants.
- Make sure the seeds you select are specifically labeled for sprouting or wheatgrass production, as these varieties work best for indoor gardening conditions.
- Before you purchase, verify the seed’s freshness. Fresher seeds have a better chance of sprouting successfully.
- Keep an eye out for reputable brands that have positive reviews from other wheatgrass growers.
")
With good quality seeds, you take the first step towards a flourishing wheatgrass harvest that’s packed with nutrients.
Essential Supplies for Growing Wheatgrass
- High-quality wheatgrass seeds: Select clean, whole seeds to ensure a high germination rate.
- Organic potting soil: Use a rich, peat-free mix to provide necessary nutrients and support root development.
- Wheatgrass trays or containers: Use standard seed trays with drainage holes to prevent overwatering and root rot.
- Water spray bottle: This allows for gentle watering that won’t disturb young sprouts or seeds.
- Measuring cup: Helps in evenly spreading seeds and measuring water for consistent watering.
- A pair of scissors or sharp knife: Useful for harvesting your wheatgrass without pulling the roots.
- Indirect sunlight: Wheatgrass needs light, but direct sunlight can damage young plants, so a spot with indirect sunlight works best.
Preparing the Soil for Planting
Begin with choosing an appropriate potting mix. A well-draining, light soil works best for wheatgrass, as it allows the roots to expand easily and access air.
Consider mixing in some compost to enrich the soil with nutrients for optimal growth. Wheatgrass thrives in soil with a neutral to slightly alkaline pH level; aim for a pH between 6.5 and 7.0. You can easily test the soil pH using a home testing kit.
Before planting, ensure that your soil is moist but not waterlogged. To prepare, spread the soil evenly across your growing tray, leaving about an inch of space from the top. This step prevents overcrowding and promotes even sprouting.
Flatten the surface gently with your hand to create a level surface for the seeds. But avoid compacting the soil too much, as this can hinder germination.
Planting the Seeds: A Step-by-Step Guide
- Fill your tray with soil: cover the bottom of your wheatgrass tray with about an inch of pre-moistened potting soil or compost to create a nurturing bed for the seeds.
- Scatter the seeds: distribute the wheatgrass seeds evenly across the surface of the soil, ensuring minimal overlap for uniform growth.
- Press the seeds into the soil: gently press the seeds into the soil with your hand to ensure contact, which is crucial for germination.
- Cover the seeds: place a thin layer of soil over the seeds or use a paper towel to lightly cover them, helping maintain moisture and darkness.
- Moisturize the surface: mist the surface with water using a spray bottle to provide the seeds with the necessary hydration for sprouting.
- Place in indirect light: locate the tray in an area with indirect sunlight, as too much direct light can dry out the seeds quickly.
- Keep the soil moist: water the tray gently each day to keep the soil moist, but avoid overwatering as this can lead to mold growth.
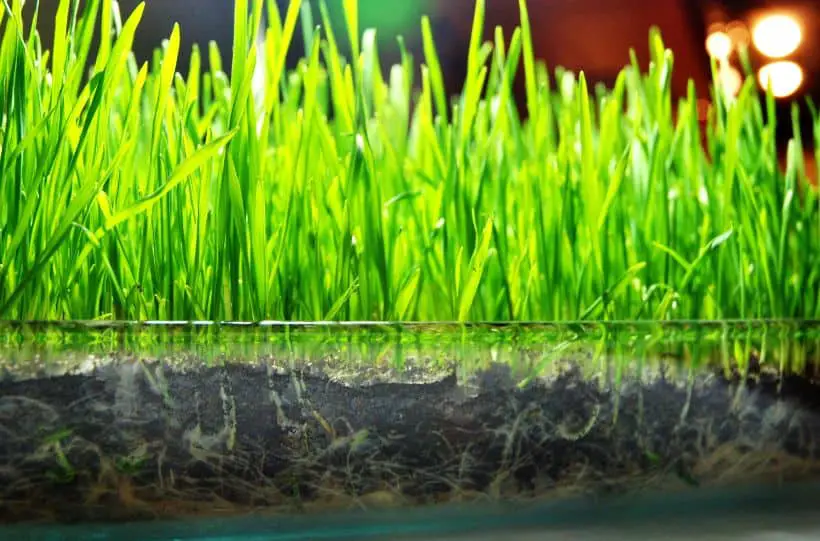
- Uncover after germination: once sprouts appear, usually within 3-4 days, remove the paper towel or additional soil layer to allow growth to continue unhindered.
- Continue to water daily: sustain a regular watering routine until the wheatgrass reaches the desired height for harvesting, typically around 6-7 inches.
Caring for Your Wheatgrass
Water your wheatgrass once a day, ideally in the morning, using a mist sprayer to keep the soil moist without overwatering. This method prevents mold growth and ensures the roots receive enough hydration.
Place the trays in an area that receives ample indirect sunlight, as too much direct light can scorch the delicate blades. If natural light is scarce, supplement with a grow light, keeping it on for about 12 to 16 hours a day to mimic natural daylight cycles.
Weekly care comprises checking the color and texture of the grass. Wheatgrass should display a vibrant green hue, indicating a high chlorophyll content. If you notice any yellowing, this is often a sign of inadequate light.
Rotate the tray every few days to ensure even growth because wheatgrass tends to lean towards the light source. These straightforward steps set the stage for robust growth and a bountiful harvest.
Harvesting Your Wheatgrass
Harvesting wheatgrass is straightforward. Look for when the blades are about 6-10 inches tall, typically 7-10 days after planting. Watch for the jointing stage, when the plant begins developing a second blade. It’s best to harvest just before this stage.
Use a sharp pair of clean scissors or a serrated knife to cut the grass about half an inch above the soil surface. Be steady and cut cleanly to avoid damaging the plants.
Rinse the freshly cut wheatgrass to remove any soil or debris. It’s now ready for juicing or storage. And remember, a second cutting is possible, but the quality often decreases with subsequent growth.
Troubleshooting Common Wheatgrass Issues
Despite your best efforts, you may face some challenges while growing wheatgrass. Yellowing leaves often indicate overwatering; reduce the frequency to correct this.
Mold growth, a common issue, requires proper air circulation. Place your wheatgrass in an area with good airflow and avoid over-saturating the soil.
If you notice slow germination, this could be due to old seeds or improper soil temperature. Ensure your seeds are fresh and keep the soil at a consistent temperature suitable for wheatgrass growth, typically around 70 degrees Fahrenheit.
Weak or thin wheatgrass might signal a lack of nutrients. In this case, ensure your soil is rich in organic matter. You can add compost or a gentle organic fertilizer to provide essential nutrients. Sparse growth can sometimes be a result of planting seeds too far apart.
Next time, sow the seeds more densely to achieve a lush wheatgrass tray. Lastly, consider the humidity levels if the leaf tips are brown or dry. Wheatgrass thrives in moderate humidity, so you may need to mist your plants to maintain adequate moisture in the air.
Enjoying Your Harvest
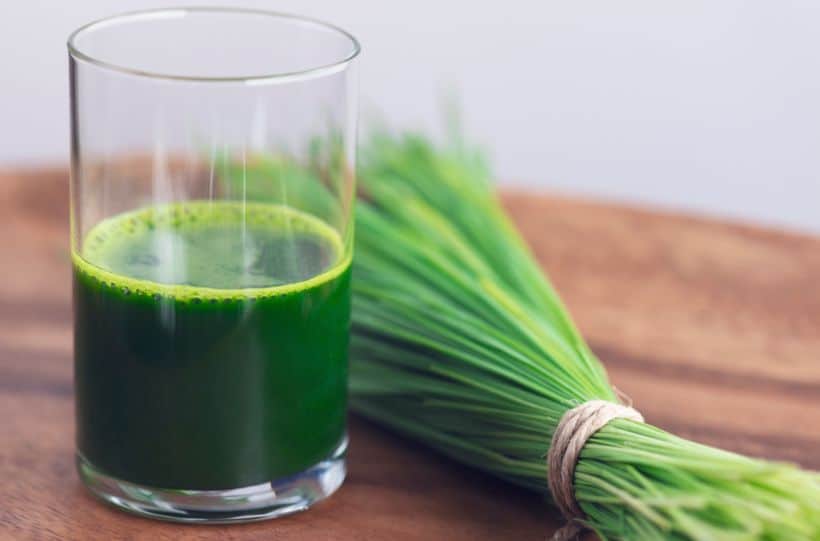
After nurturing your wheatgrass, the time comes to enjoy the results. Begin by rinsing the freshly cut wheatgrass to clear any soil.
Then, transform it into fresh wheatgrass juice using a juicer. If you lack a juicer, a blender works, followed by straining to extract the juice. Remember, a small amount packs a punch, so start with just an ounce of juice and work your way up slowly.
Growing wheatgrass is straightforward, and you now have the knowledge to tackle it.