Dry, Can, Pickle, Ferment, and Preserve food from Your Garden
Your garden is your best tool for providing for your family and these simple methods of preservation can help you make the most of your garden year after year.
This post may contain affiliate links. Please see the privacy policy for details.
Growing your own food is a great way to ensure your family has the freshest produce. When you grow a surplus of something or intentionally grow enough to preserve for winter you can use simple food preservation methods to make the most of your foods.
Growing and preserving your own food is one of the best skills you can master for preparing your family for hard times.
Your garden is your best tool for providing for your family and these simple methods of preservation can help you make the most of your garden year after year. Here’s everything we’ll cover:
What is Food Preservation?
Food preservation is any method used to handle and store food to prevent spoilage. Today we use a wide range of food preservation methods to help keep our food from spoiling as long as possible.
For gardeners that grow an abundance of food beyond what they can use or even give to friends and family and for gardeners that chose to grow enough for preservation to help provide for their families over the winter, this is a vital way of making that food last.
While some foods can be preserved for a short while without much special treatment like potatoes, garlic, and onions, that will hold well in a cellar, others need to be preserved quickly through modern preservation methods like drying, canning, and freezing to help ensure that it lasts for the long term.
Modern food preservation helps families make the most of their garden space and greatly reduce food waste.
What Methods of Food Preservation can you use for Foods from your Garden?
There are many methods you can use for preserving food from your garden. These include simple options that don’t take any kind of equipment like drying freshly harvested herbs to more advanced food preservation methods like fermenting vegetables to preserve them for months at a time.
Common food preservation methods include:
- Dehydrating
- Pickling
- Canning
- Fermenting
- Freezing
- Salting
How to Dry Food from your Garden
Drying or dehydrating food from your garden is the process of removing water from the food. This effectively stops bacteria from being able to grow without moisture and stops the rotting process provided moisture is not reintroduced.
When you are ready you simply rehydrate the items in hot water for cooking or toss them right into meals like soups and stews for a simple and effective way to preserve your harvest.
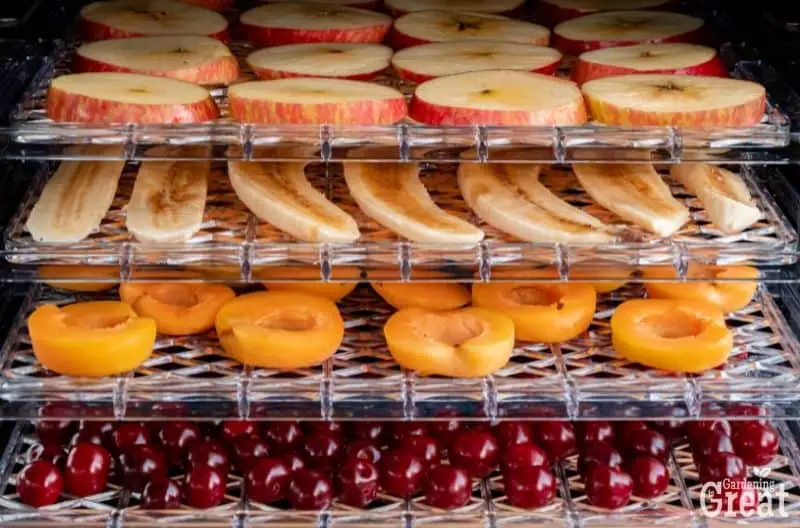
Drying food is one of the easiest ways to preserve food from your garden. For things like fresh herbs from your garden, you can dry by wrapping in cord and placing in a warm dry place hanging upside down for about 2 weeks, until the leaves crumble between your fingertips.
This is an effective way to dry herbs without any extra equipment. To help protect your herbs from summer insects like flies and gnats you can place them in a paper bag or organza.
For most other foods the easiest option is to put them in a dehydrator. Most produce foods from your garden can be washed, sliced, and dehydrated easily while others will need to be blanched to help preserve the color and to help peel back skins to help step up the drying process.
For potatoes, you will need to cut the potatoes in your desired shape and bring them to a rolling boil to release the excess starch. After boiling, rinse well to remove the starch floating over your potatoes. This process will help keep your potatoes from turning black when you dehydrate them.
After you have dried your fresh produce to the point that the slices snap rather than bend or crush between your fingers you are ready to condition your home dried foods.
To condition, place your food in a jar leaving plenty of air space. Each day for 2 weeks shake your jars and check for any condensation on the side of the jar.
If you see condensation it means that your dried goods were not completely dry and should be returned to the dehydrator to be finished before storing in an air-tight container with an oxygen or moisture absorber. This process will prevent you from finding yourself with mold when you are ready to use your dried goods.
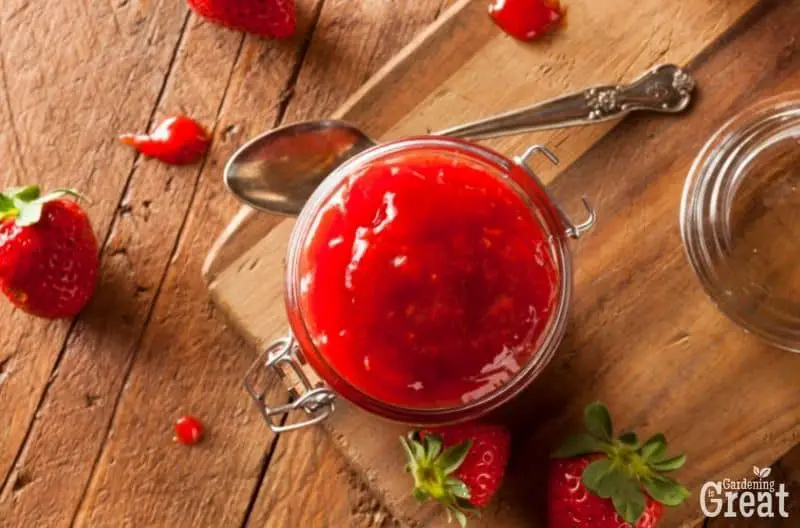
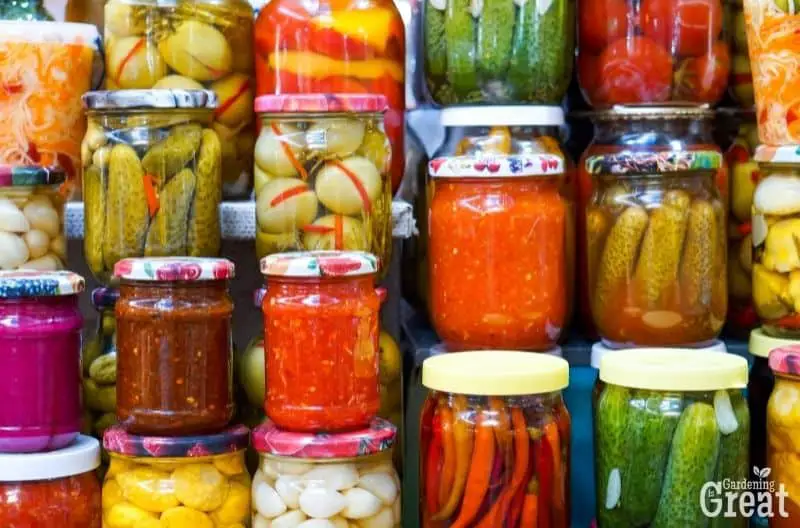
How to Can Food from your Garden
Canning food is a popular way to process and preserve food for months and even years at a time.
You can use canning to preserve your garden’s harvest and retain a large amount of the color and textures of your favorite foods, or process produce into new foods like jams and sauces that allow you to save time later when you are ready to use these items and even save money over purchasing these items at the grocery store.
Canning food from your home garden is easy. To can your food at home you will need one of two methods depending on what you are canning.
Home canning can be done with water bath canning for items that are high acid, like jams, pickles, and tomato products.
Other items like vegetables that are low in acid will need to be pressure canned to safely preserve your produce for your family.
For water bath canning you will only need a large pot, a canning rack or dish towel to keep the cans from touching the bottom of the canner pot, and a basic canning tool kit to make it easy to fill and process the jars. This is an easy way to get started with caning at a low cost and build up your supplies over time.
Start with an easy canning project like making homemade salsa, pasta sauce, or making homemade jams and jellies.
As you get comfortable with canning you can prepare to move to more advanced options with a pressure canner.
Pressure canning is easier than you may think and can be made safe with a pressure canner regulator that will help keep your canner from getting too high by regulating pressure preventing an accident from happening.
Choose a pressure canner that is quality made and avoid going with the cheapest option simply because it is more affordable. Until it is within your budget to purchase a quality canner you can use other forms of food preservation.
For both canning methods, you will need a basic canning tool kit with a bubble popper/headspace measurer, canning funnel, jar wrench, jar lifter, and a canning rack. You will want a decent supply of canning jars with rings and lids. Lids should only be used once and it is best to always have a spare pack of lids on hand.
If your canning jars fail to seal you can put them back in the canner and reprocess them to ensure that you have a complete seal.
When storing canning jars, always remove the rings and never stack your jars. This will help prevent missed broken seals by leaving room for the lids to fall off or move just enough to prevent a reseal that could trap bacteria inside your canned goods without you knowing.
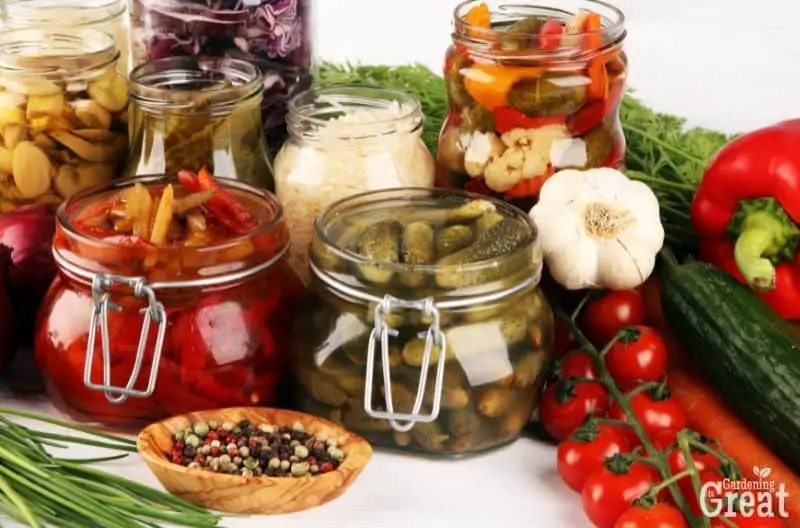
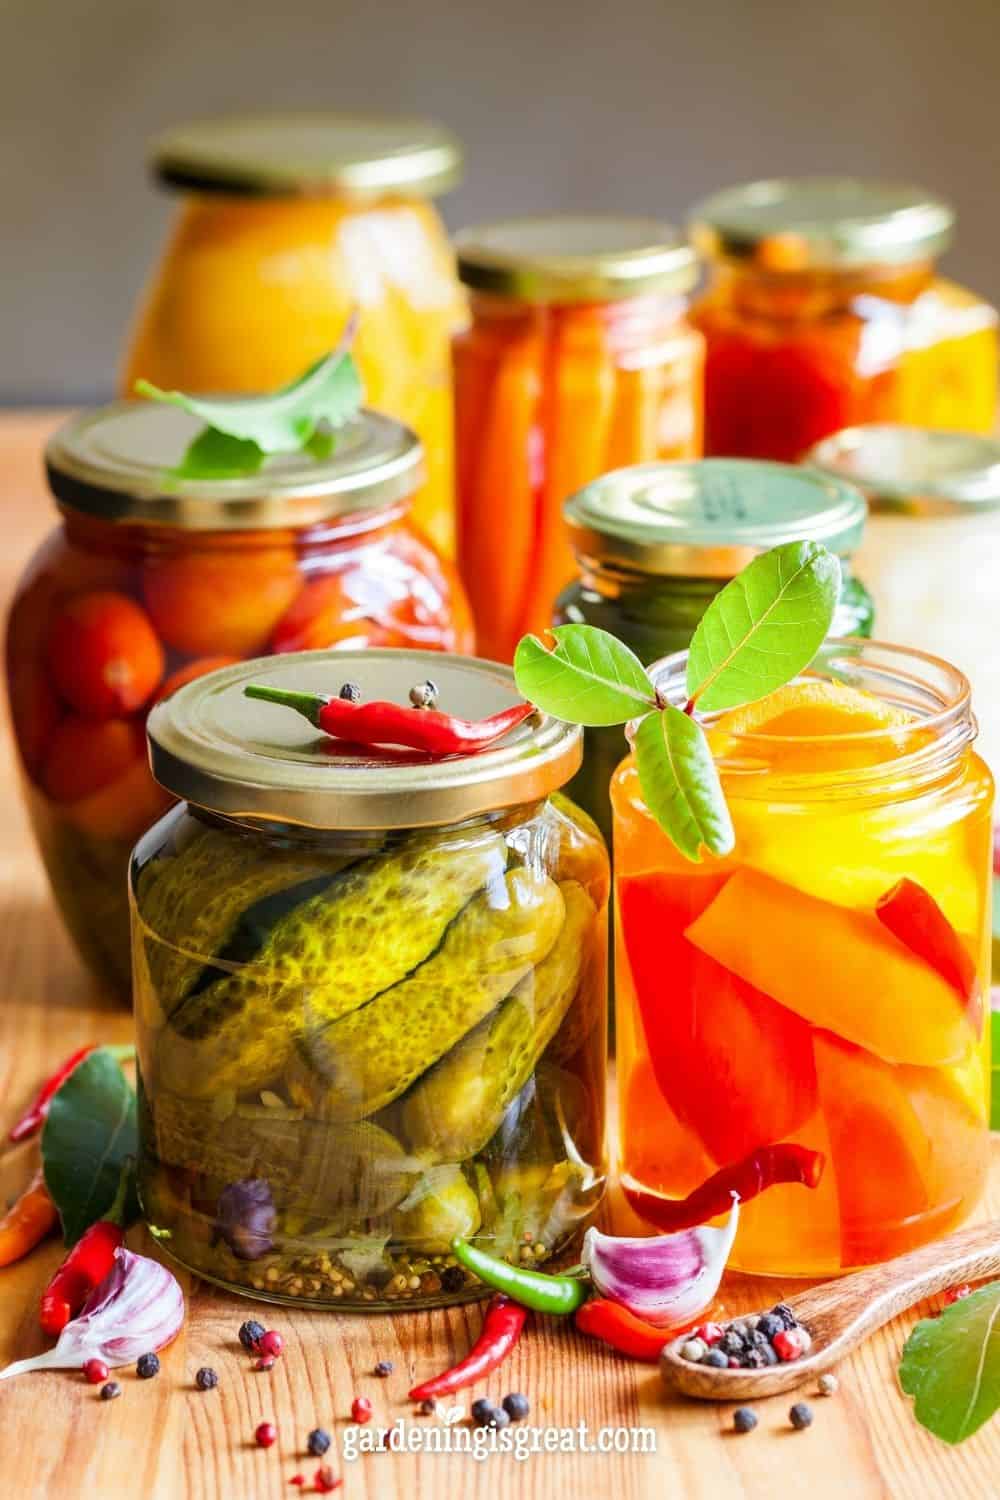
How to Pickle Food from your Garden
Pickling food is preserved by processing in a brine of vinegar or vinegar and salt. This slows down the breakdown process to help make your vegetables last longer.
The brine and spices you use can increase the flavor of your favorite vegetables. Most people eat pickled cucumbers but there are many other popular pickled vegetables like Dilly beans, pickled garlic, and peppers.
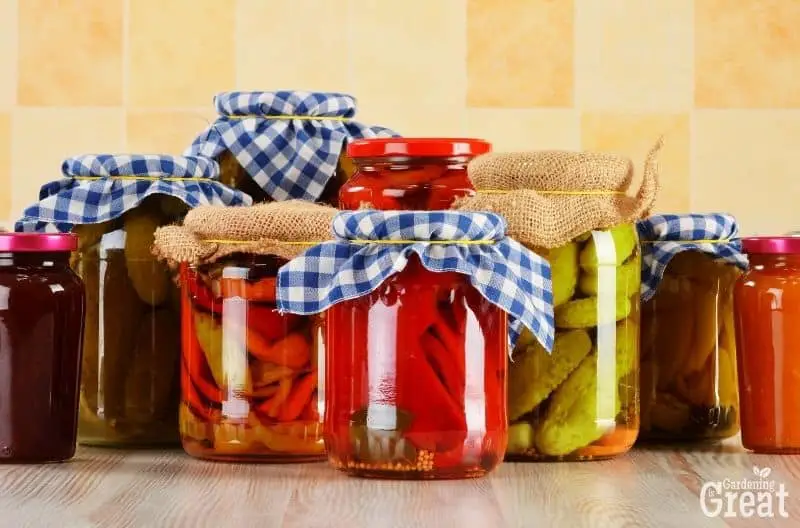
Picking food is a great way to allow you to preserve things that you normally could not with classic water bath canning. Pickling uses salt and vinegar to preserve your vegetables for the long term.
Nearly any vegetable can be pickled easily. To preserve vegetables, place them in a canning jar along with your choice of spices. For the best results, you want to cut your vegetables into pieces no more than 1/2 inch thick.
Boil up a pickling brine made of 2/3 cup vinegar, 1/3 cup water, and 1 1/2 teaspoon salt. Do not use iodized salt for canning. Any other pure salt that has not been mixed with additives will do. You can purchase pickling salt designed for canning vegetables.
Cover your vegetables with brine leaving 1/4 inch headspace. Process your pickled vegetables while still hot for 10 minutes in a water bath canner for quick and easy pickled vegetables right from your garden.
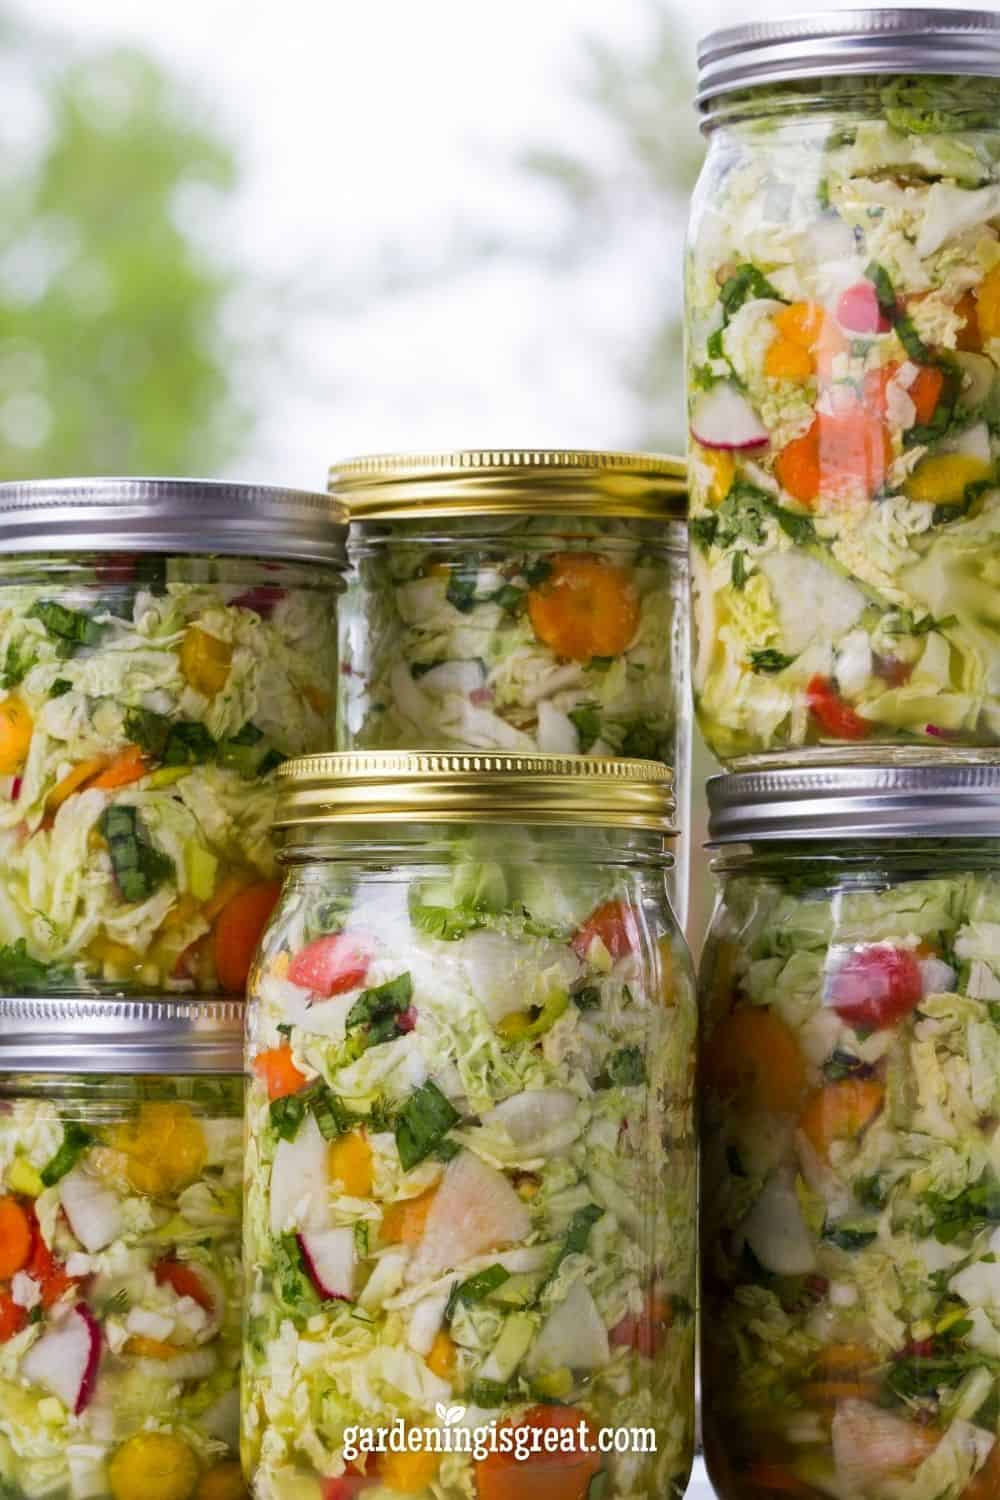
How to Ferment Food from your Garden
Fermenting food is similar to pickling though it is not typically sealed in a canner. This process uses brine or bacteria to ferment your vegetables before chilling to slow down the rotting process extending the life of your foods.
Fermented foods are great for your body and fermenting can be used as a form of preservation for your homegrown foods that can help provide your body with needed probiotics to help protect your gut health.
This easy form of food preservation is perfect for beginners and for those that enjoy fermented food this can be the best way to make the most of your garden’s harvest.
You can ferment vegetables in mason jars using airlock lids designed for fermenting. You will need salt, salt plus whey, or a fermentation starter culture to ferment your vegetables. Fermenting weights can be used to help keep your vegetables under the brine.
When you are ready to begin, cut your vegetables and place them in your jars. Cover with your brine. Airlock lids or fermenting weights will help keep the vegetables under the fluids. Let your vegetables sit to allow for the vegetables to fully ferment.
If you like a lighter flavor you can begin checking the flavor of your fermented vegetables in as little as 2-3 days and end the process when the flavor has reached your desired levels. Most vegetables will need 14 to 21 days to ferment.
After your vegetables have fermented they need to be moved to a cooler place to slow down the fermentation process. This can be your refrigerator or a root cellar where the temperature stays lower to help slow the process and can keep your vegetables fresh for months.
How to Freeze Food from your Garden
Freezing your foods fresh out of the garden leaves them the least altered when it comes to food preservation. Freezing stops the rotting process and can greatly extend the life of your produce. Freezer burn is a major risk of using this method of food preservation.
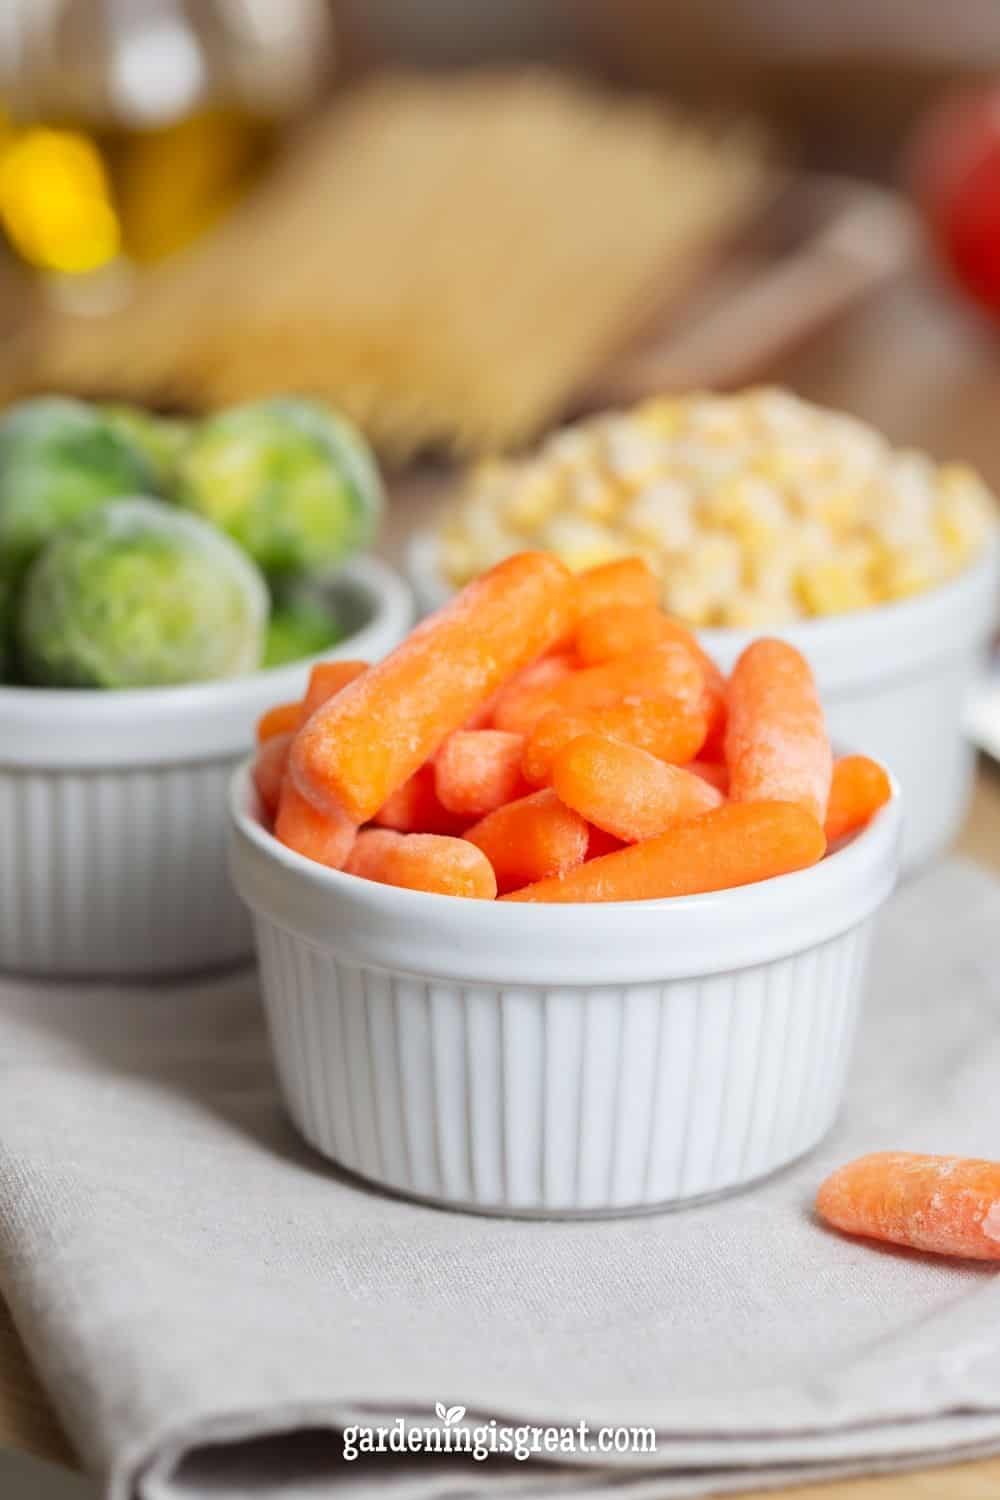
For those that have the space for freezing the freezer can be one of the best ways to preserve the fruits and vegetables from your garden. Many fruits and vegetables like tomatoes, green beans, and corn need to be blanched before freezing to help preserve the color and texture you love.
After blanching you can flash freeze your vegetables on cookie sheets before moving them to an air-tight container for long-term storage.
A great way to prevent freezer burn of your frozen produce is to vacuum seal it. Frozen fruits and vegetables will last 6 months to a year in a well-regulated deep freezer.
Salting to Preserve Vegetables from your Garden
Salting is no longer a common form of preservation but is still a viable option for those looking to use the resources you have on hand.
Salted vegetables will have a very salty flavor when you go to use them and should be rinsed and soaked to help reduce the salty flavor and your sodium intake. Salt is effective at preventing bacterial growth and decomposition.
Place your vegetables in a baking dish filled with water. Add salt until the salt pools on top of the vegetables and move them to the refrigerator for about a week. Drain the brine and cover your vegetables with salt. Leave in a cool dry area until fully dry.
When you are ready to use your vegetables, unbury them and wash away the excess salt.
Preserve Your Harvest With Simple Methods of Preservation
Learning how to preserve your garden’s bounty may be one of the most important skills you can learn.
It is a skill that will allow you to enjoy fresh vegetables and fruit all year round, even in winter months when gardens are not producing! Plus you’ll also have a sense of accomplishment and connection to what’s going on around us.